BLFS Developer: Add Merchant to BLFS
NOTE -- Before starting this section, be sure you have followed all the previous steps, and that the merchant has used the DISTRIBUTION LINK you provided.
Start BLFS
Use the script in the root of the repository to start BLFS:
./start.sh
If you've set up everything right, you should see that a Let's Encrypt certificate is issued for your HOSTNAME:
caddy-1  | {"level":"info","ts":1759455188.040047,"logger":"tls.obtain","msg":"certificate obtained successfully","identifier":"pay.blfs-example.com","issuer":"acme-v02.api.letsencrypt.org-directory"}
caddy-1  | {"level":"info","ts":1759455188.040752,"logger":"tls.obtain","msg":"releasing lock","identifier":"pay.blfs-example.com"}
Navigate to the developer portal
Construct a URL like
https://YOUR_HOSTNAME/dev
In the case of our example, that looks like:
https://pay.blfs-example.com/dev
You should then see a sign-in dialog.
Use the DEVELOPER_BASIC_USER
and DEVELOPER_PASSWORD from your .env file to log in.
You should now see the developer portal:
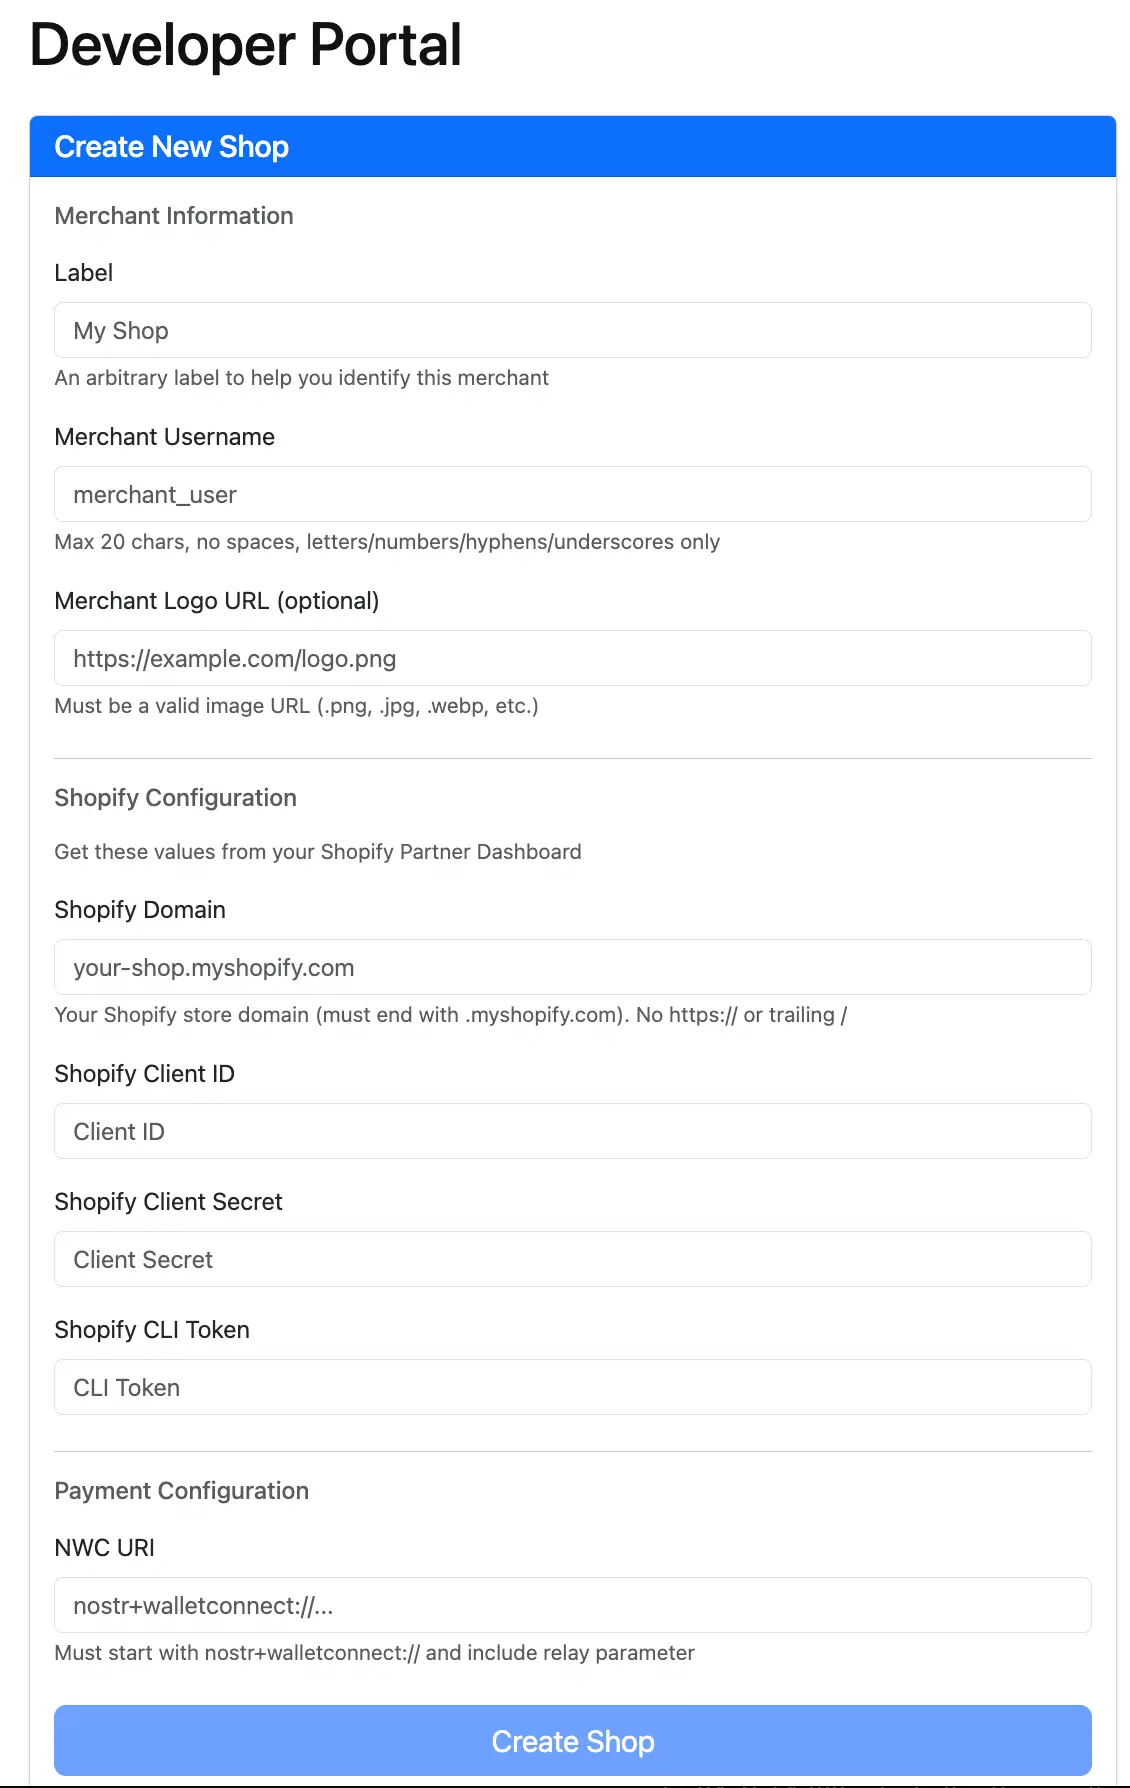
Please bookmark this page in your browser, so you remember how to get back to it.
Fill in ALL the fields
You need to fill in all the fields. The first two fields Label and Merchant Username are arbitrary -- you can use anything you want.
But all the REST of the fields are data we have gathered in previous steps.
Here is what the form looks like when fully filled:
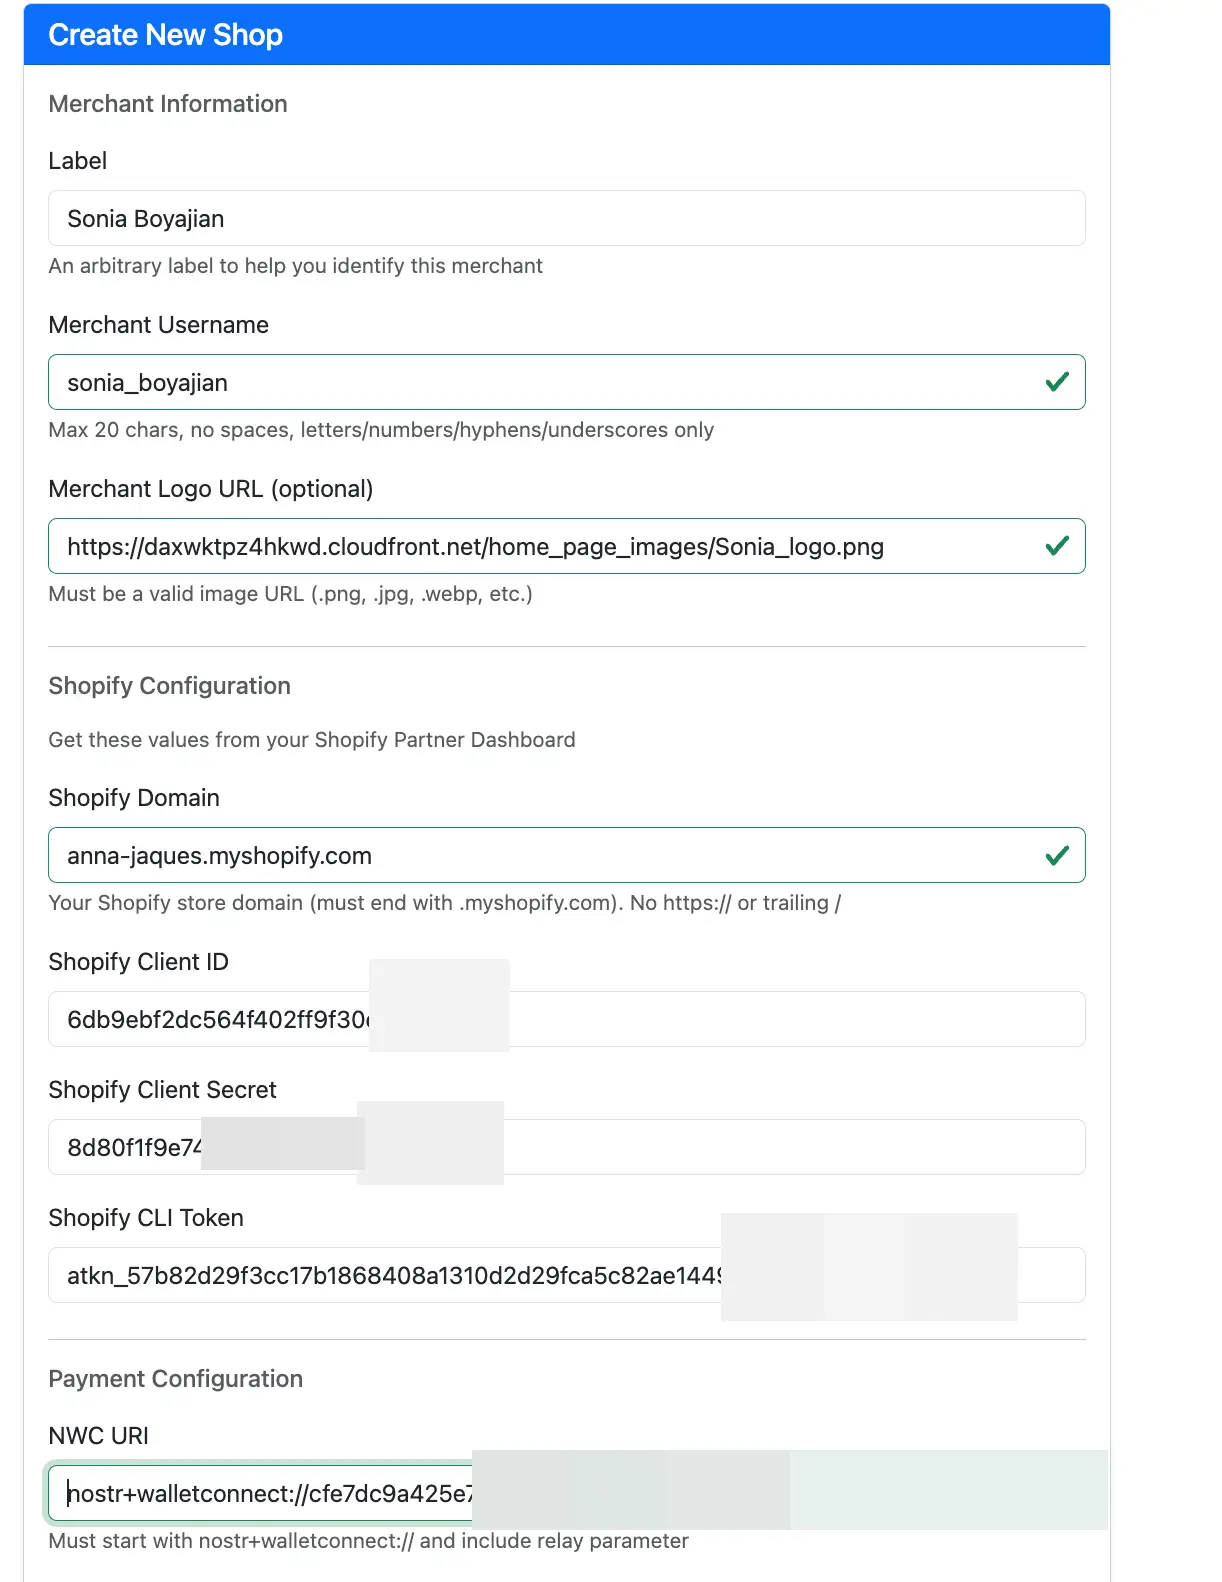
Now use the "Create Shop" button.

You should see a success message:
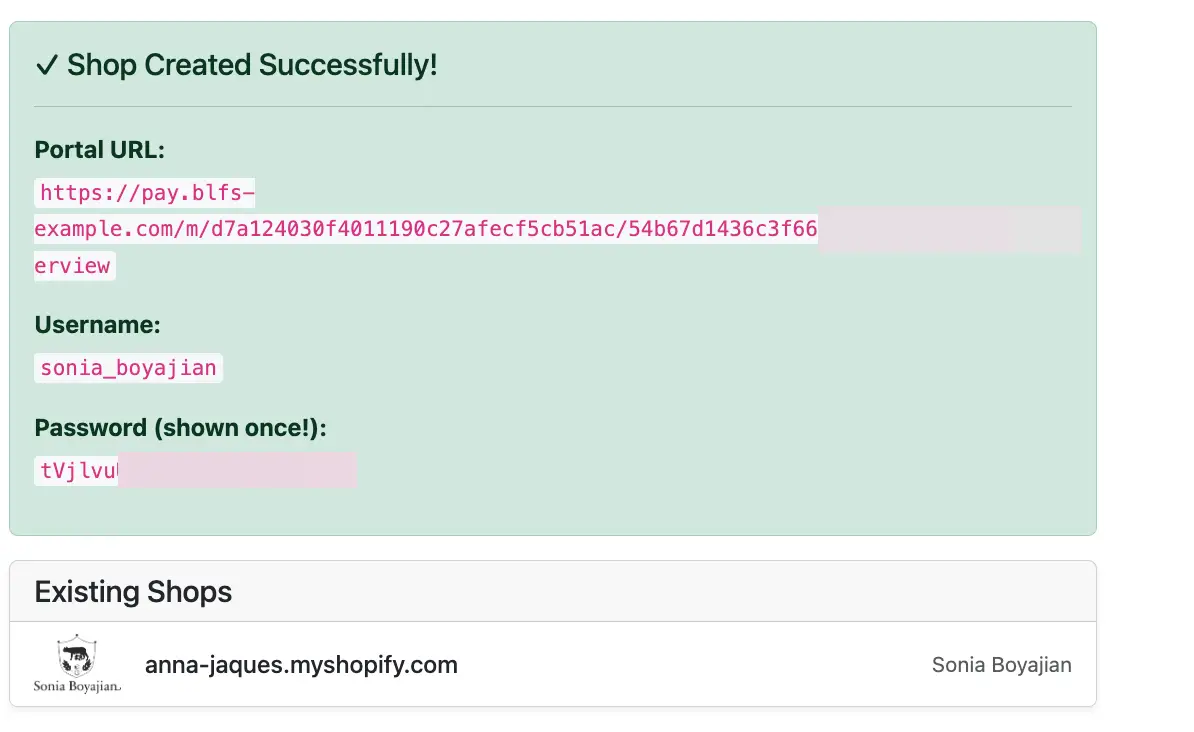
Copy the Portal URL, Username and Password (Basically, copy all the text with the green background) ... and put them somewhere safe. You will be providing these credentials to your merchant, so they can log in.
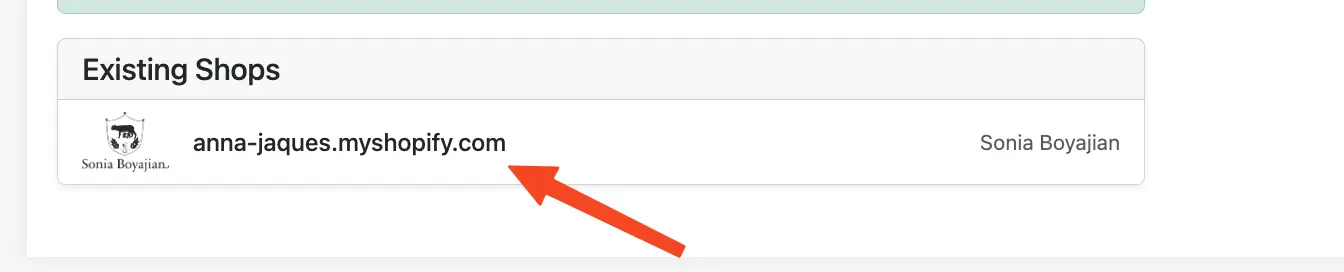
We're almost at the finish line! Now, click on the shop to move on to the final steps: