Use Rizful With BTCPay Server
 Use Rizful With BTCPay Server
Connect Rizful.com as your Lightning Node backend for BTCPay Server to receive payments online.
BTCPay Server needs to be connected with Lightning in order to receive payments.
Rizful is a free way to receive Lightning payments, and it works great with BTCPay Server.
The way to connect them is the free, open-source OpenReceive plugin. It makes your Rizful vault the store's Lightning node using a receive-only NWC code, so nothing on your BTCPay server can ever spend your money. It can also let customers pay with USDT, USDC, ETH, or SOL through a swap provider, and those payments still land in Rizful as sats.
You need BTCPay Server 2.4.4 or later, and a server administrator to install the plugin. If someone else hosts your BTCPay Server, ask them to install it for you.
Not running BTCPay? OpenReceive is a free, open-source library for WordPress + WooCommerce, Express, Fastify, Next.js, Rails, Django, FastAPI, Laravel, and plain PHP. It does the same job with a single receive-only NWC code from Rizful — no extra server, no account, no API key. See also: Best free BTCPay Server alternative.
This will take about 2 minutes.

Step 1: Get your receive-only NWC code from Rizful
A receive-only NWC code is all a store needs: BTCPay Server only creates and looks up invoices, and a receive-only code can never spend from your vault. The OpenReceive plugin won't even accept a code that can spend.
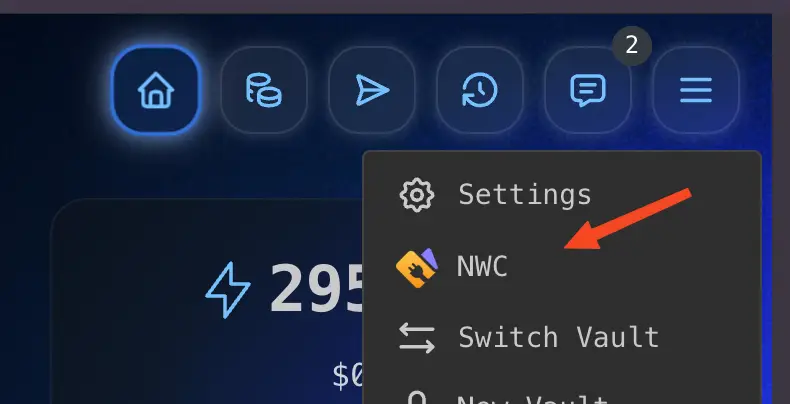
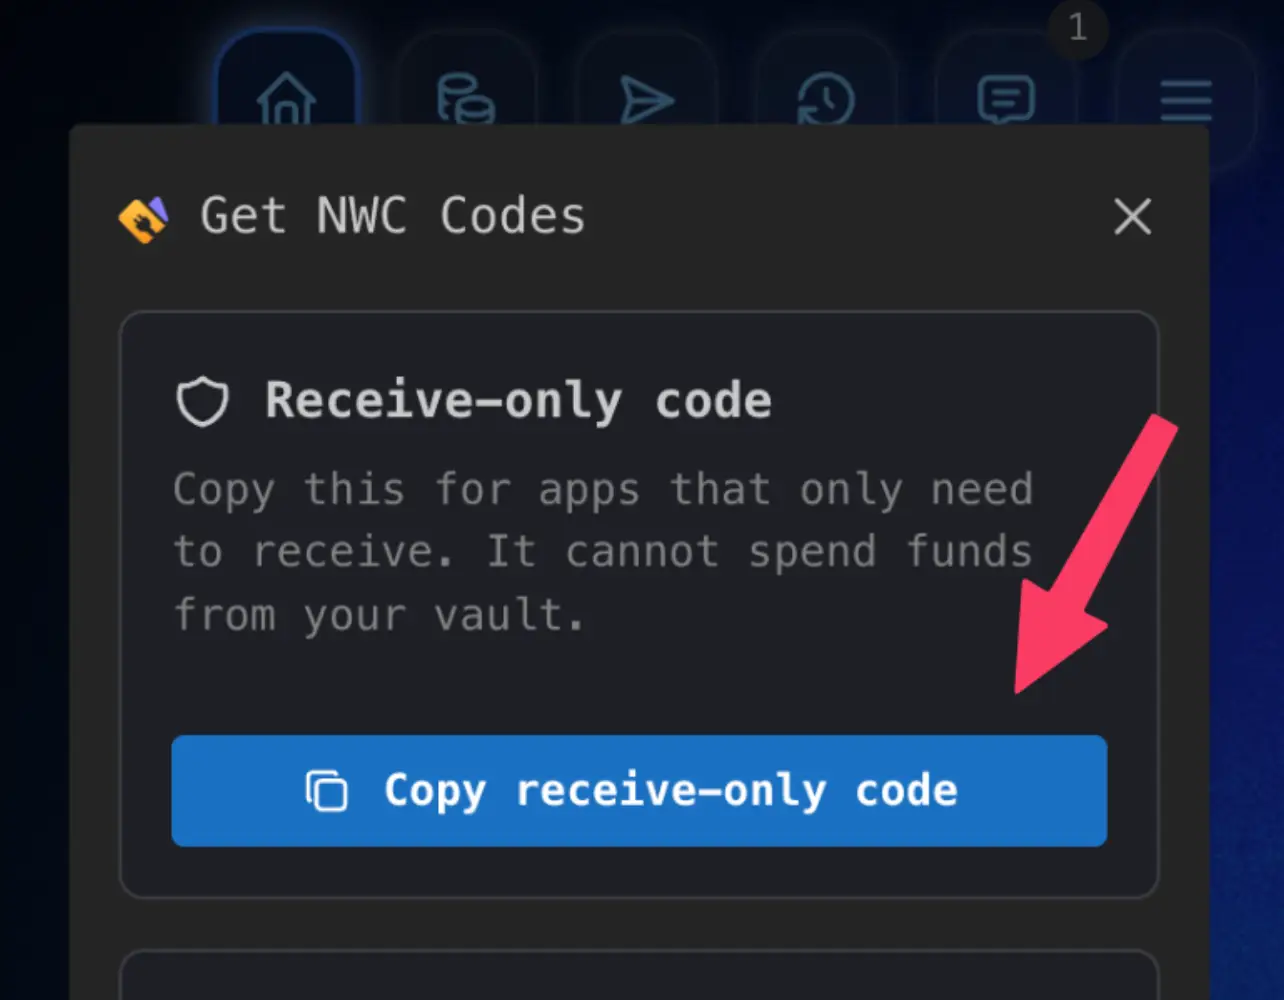
You'll get a code that looks like this: nostr+walletconnect://<64-hex-wallet-pubkey>?relay=wss://relay.example.com&secret=<64-hex-secret>
Step 2: Install the OpenReceive plugin in BTCPay Server
Sign in to BTCPay Server as a server administrator.
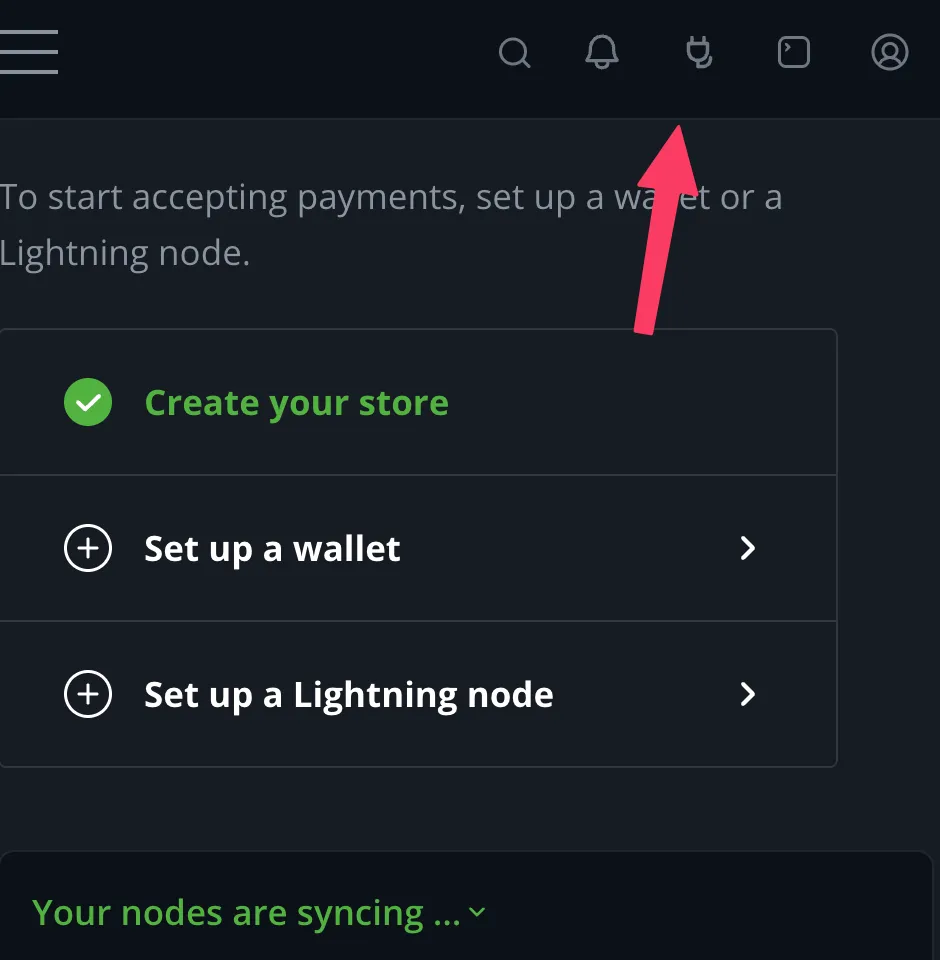
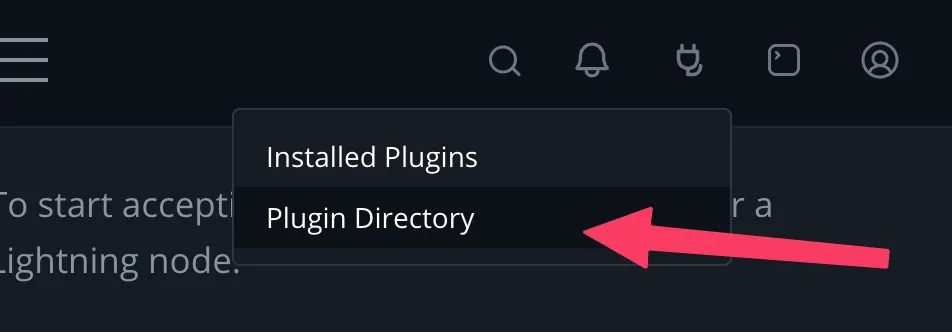
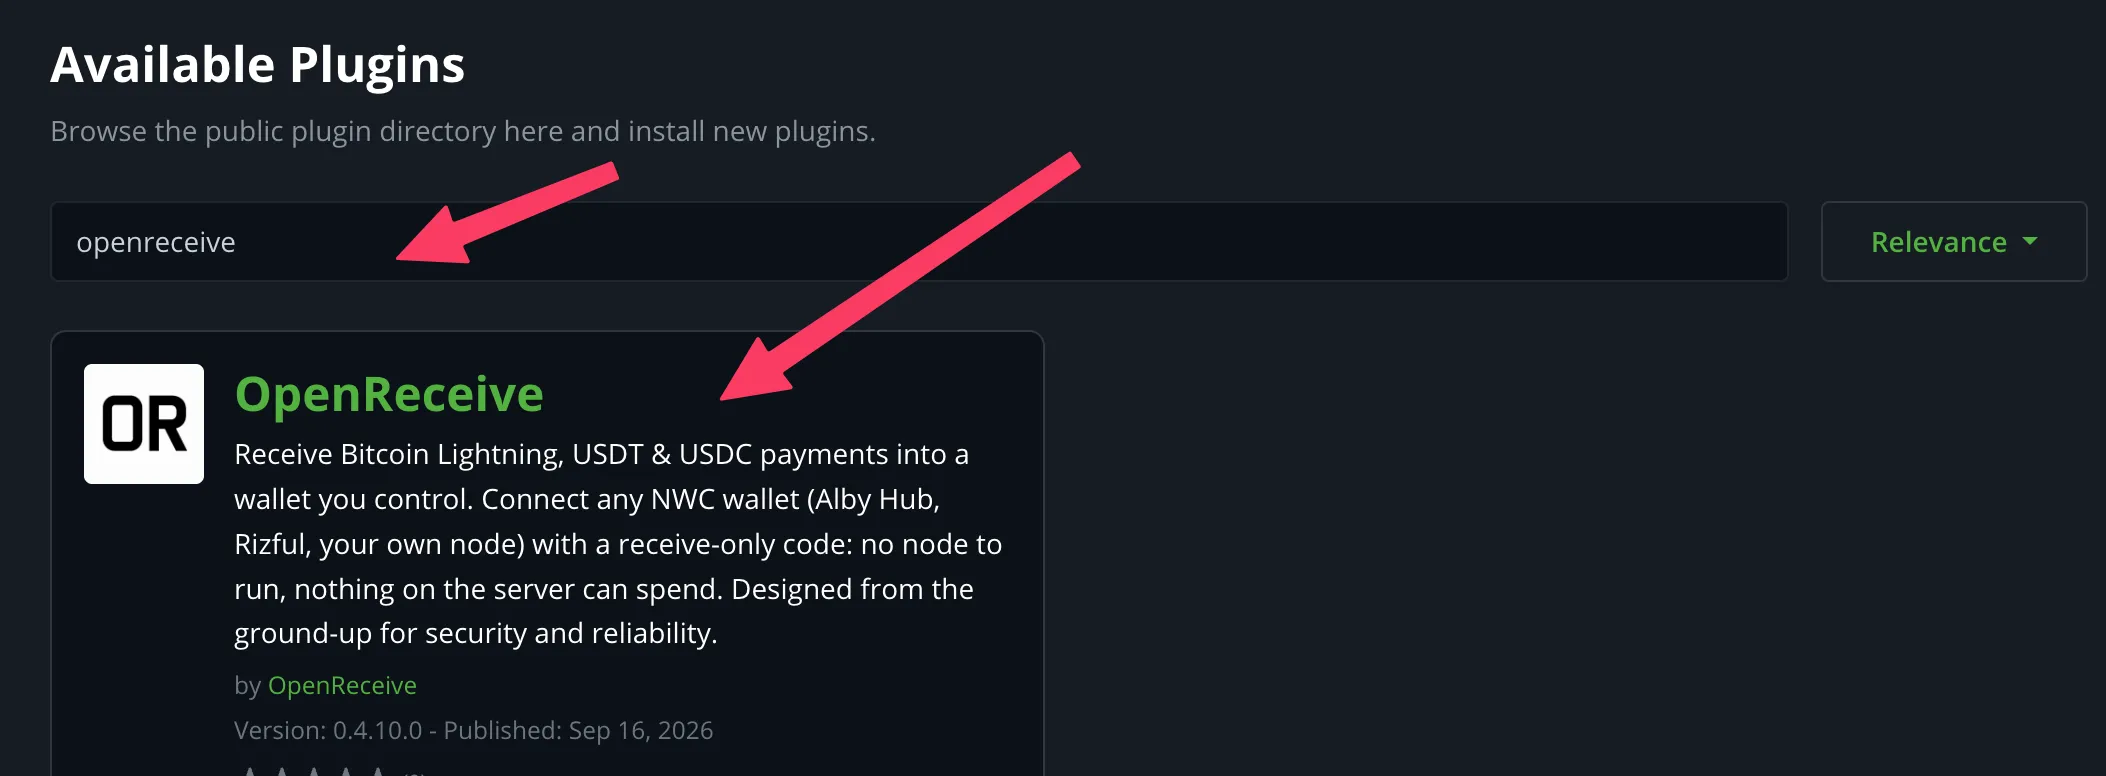
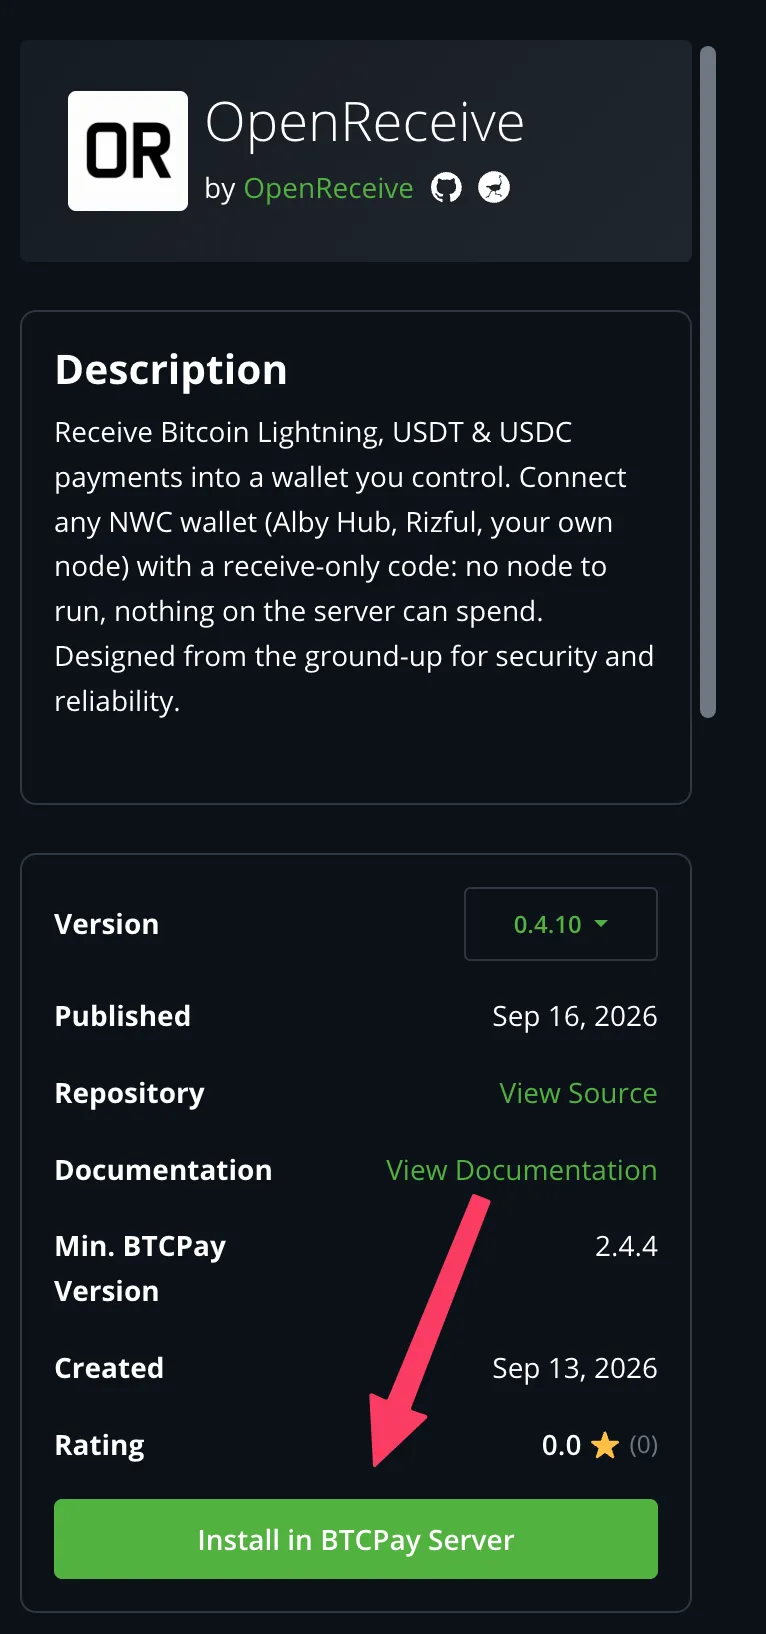
Step 3: Paste your Rizful code into OpenReceive
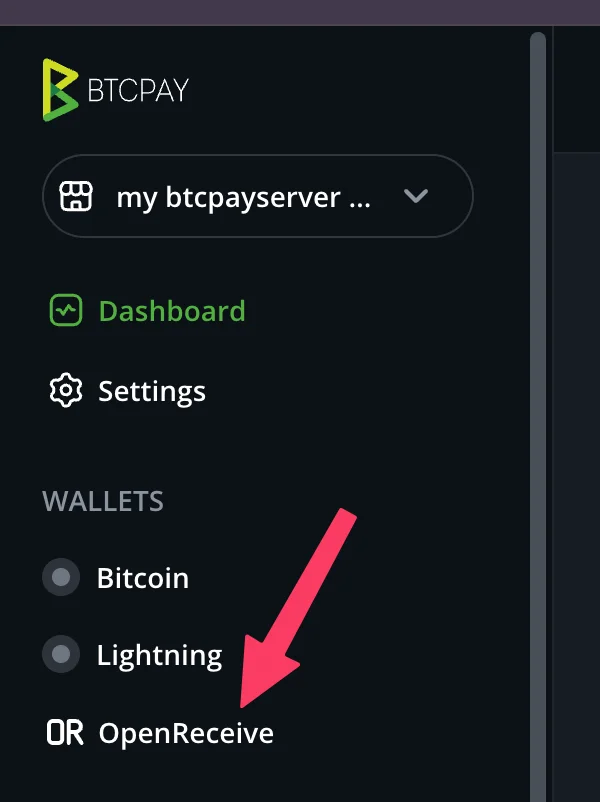
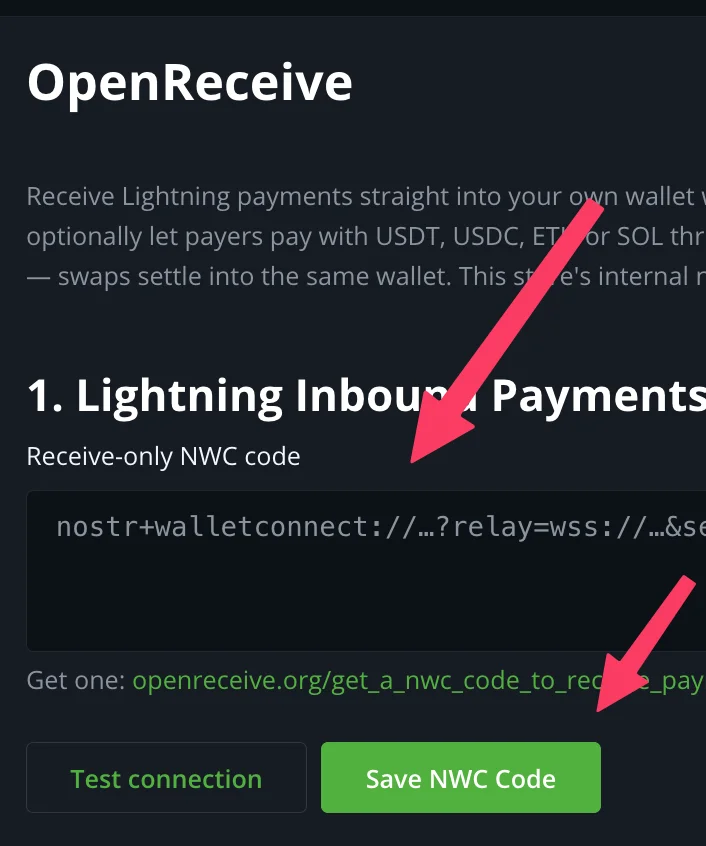
You never need to open BTCPay's own Lightning node screen. The OpenReceive page is the whole setup.
Step 4 (optional): Let customers pay with USDT, USDC, ETH, or SOL
Skip this step if you only want Lightning.
To take stablecoins and altcoins, you need a Lightning Swap Connect code from a swap provider (how to get one). Lightning Swap is one. The provider converts the customer's payment to Bitcoin and pays it to your Rizful vault over Lightning. You never hold the altcoin.
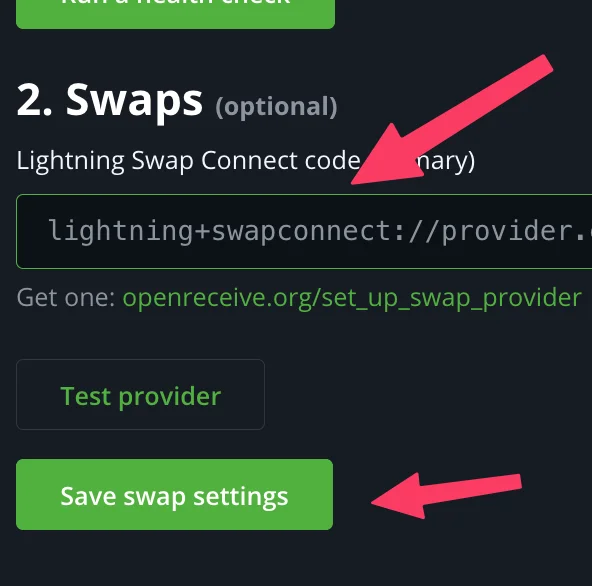
Turning swaps on raises the store's invoice expiration to 60 minutes if it is shorter, because a swap needs the invoice to stay open for at least 45 minutes.
Step 5: Check the connection
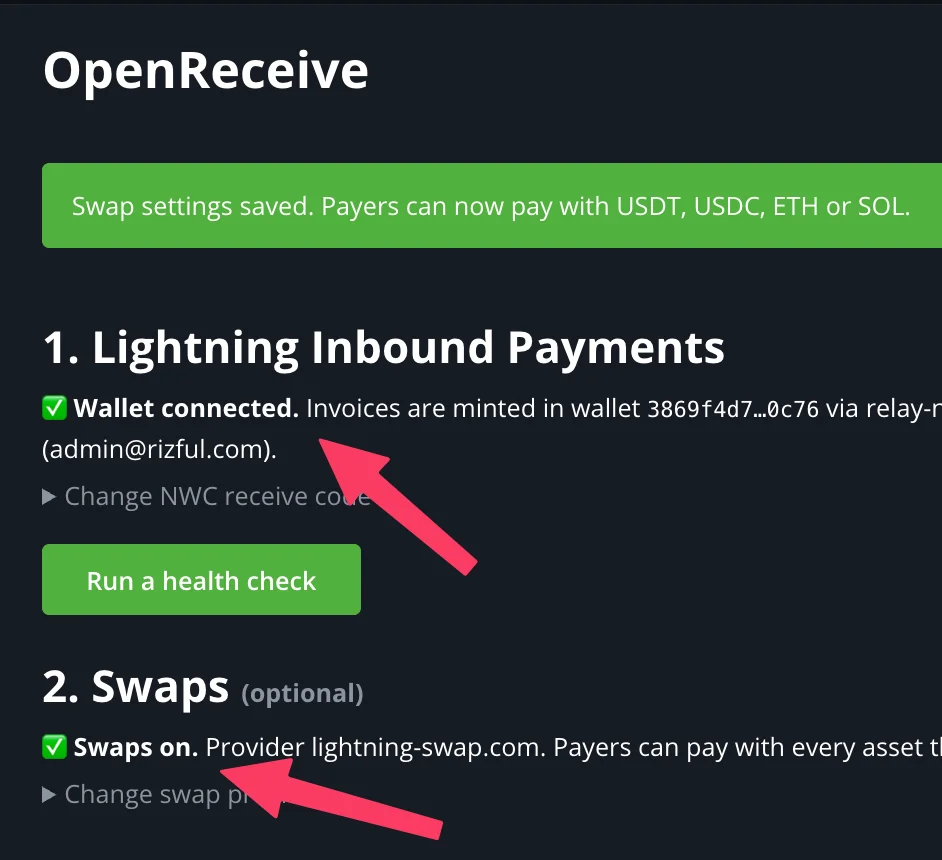
Click Run a health check on the same page. It checks the connection, payment notifications, the swap provider, and the invoice expiration. Anything that fails comes with a link to the fix.
Step 6: Make a test invoice
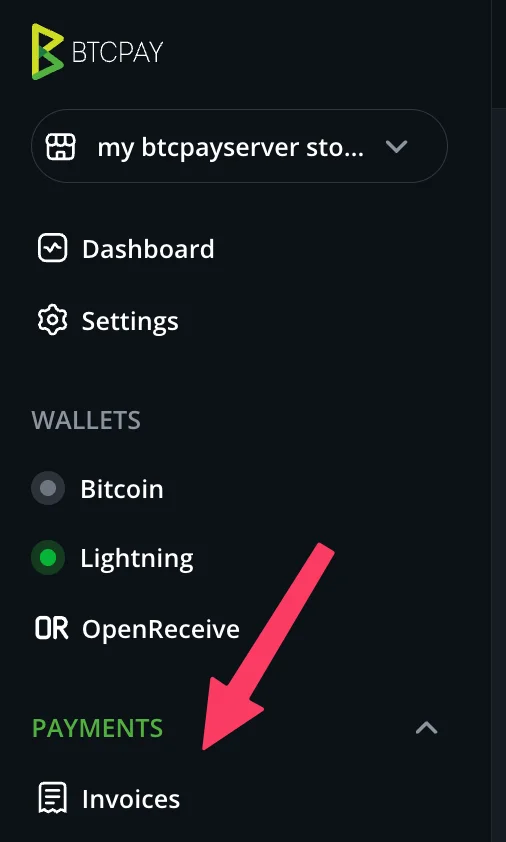
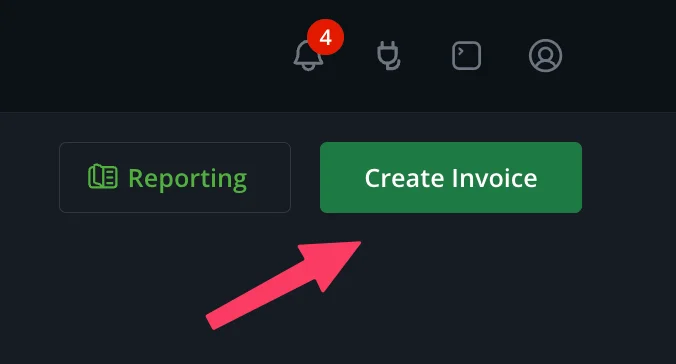
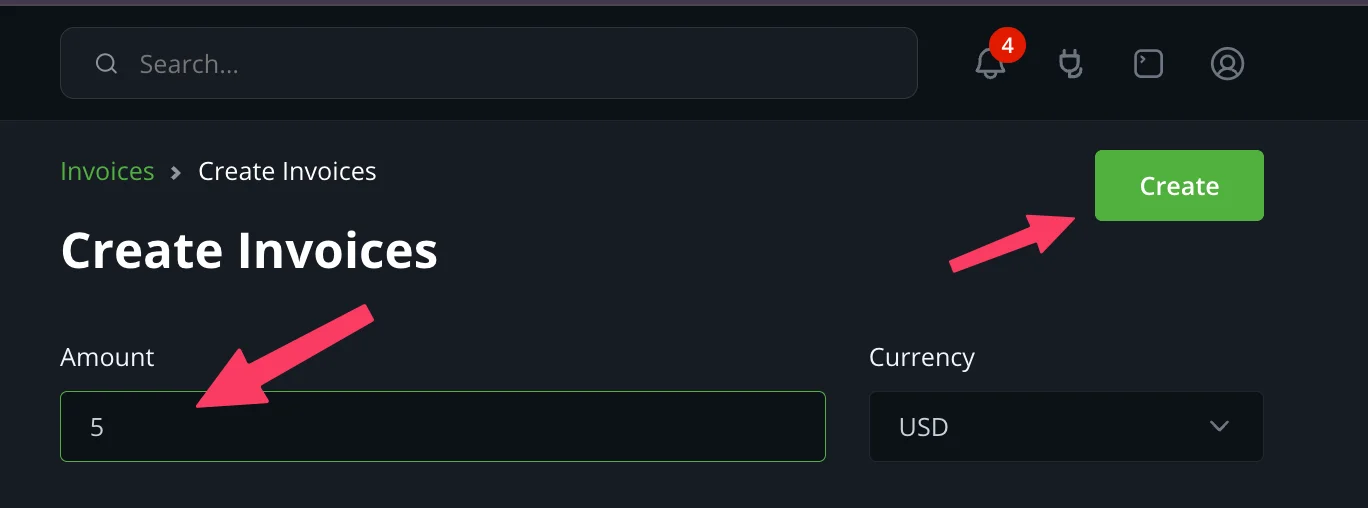
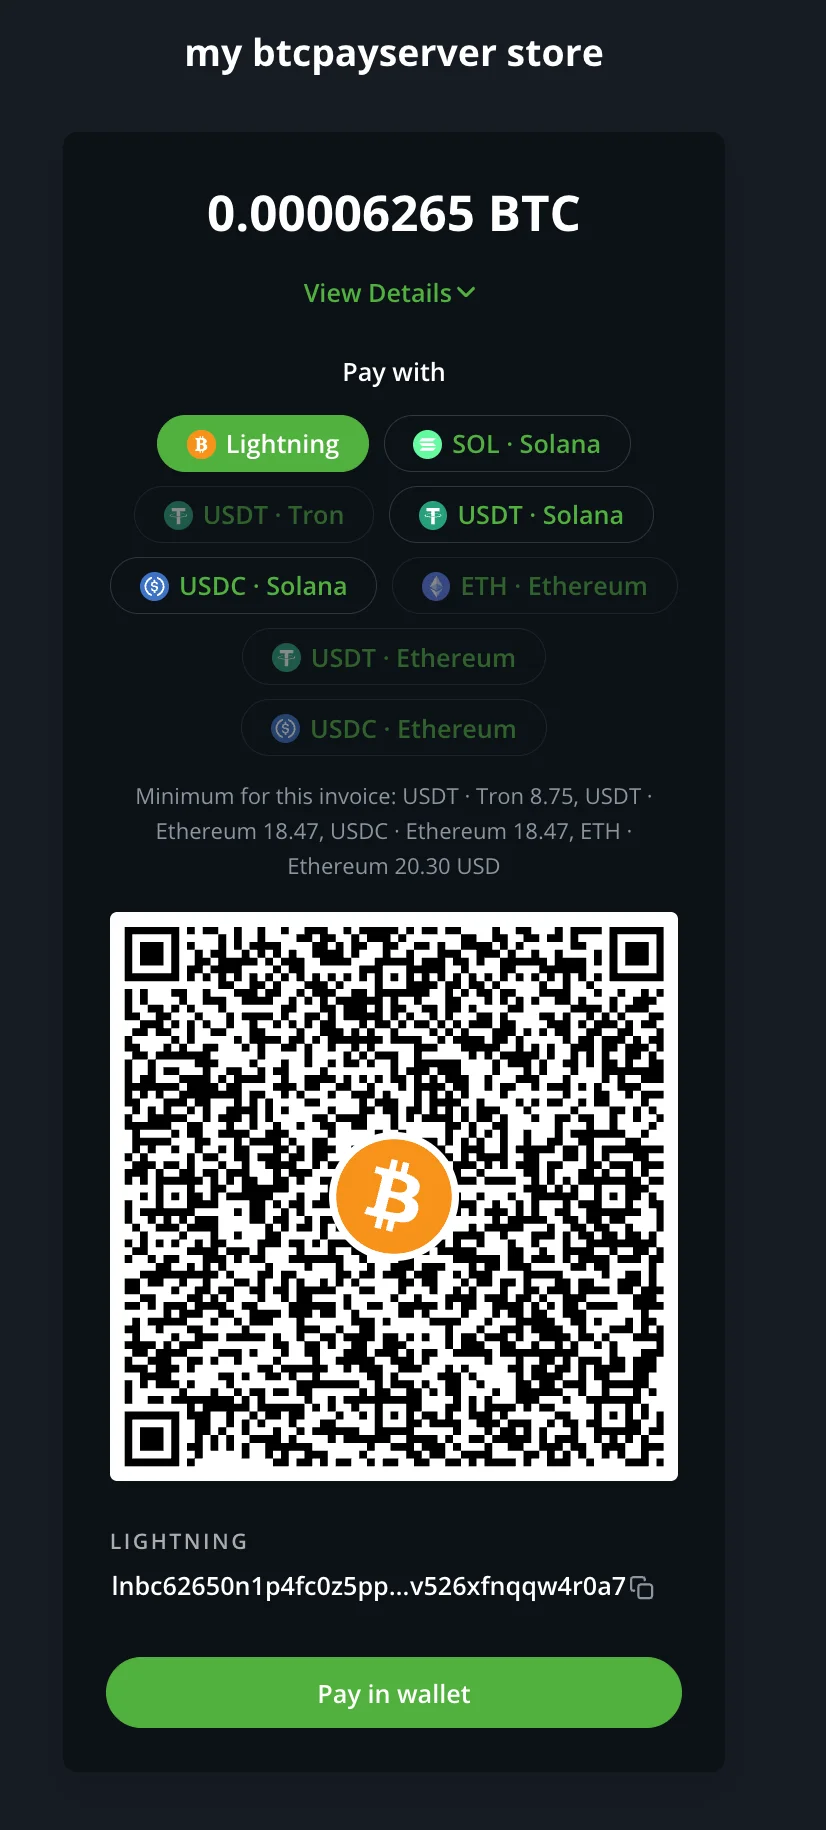
Pay it from any Lightning wallet and watch it land in Rizful.
That's it!
You can now use Rizful to receive Lightning payments in BTCPay! Your customers will be able to pay your invoices instantly using the Lightning Network, and the payments will appear in your Rizful account.
- Receive-only, on purpose. The plugin never sends money. That means Lightning payouts, Lightning refunds, and top-up invoices (invoices with no amount) aren't available with this backend.
- Set this up with BTCPay's Nostr plugin before? Saving your code on the OpenReceive page makes OpenReceive the store's Lightning backend instead. The two plugins don't conflict, so you can leave the Nostr plugin installed.
- Every setting, explained: the OpenReceive BTCPay plugin reference.